Displaying product pages nicely is the entrepreneur’s dream.
Good UX means a much higher probability the interested customer is going to add to cart and complete the checkout.
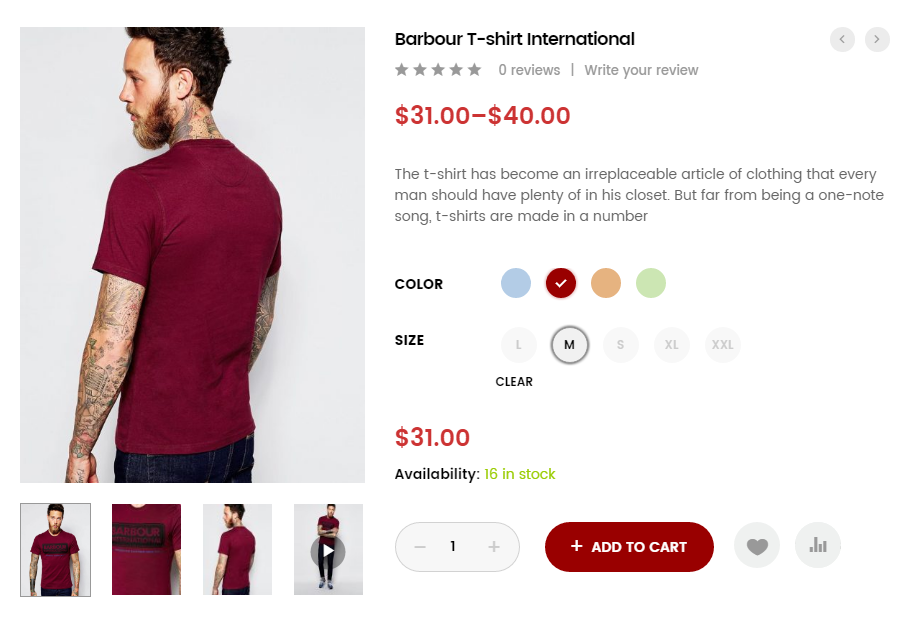
However, WooCommerce variable products come with annoying dropdowns for each attribute (color, size, style, etc. depending on what options you have set up). And as you’ve already got a hint of my personal opinion, dropdowns are UX-killers.
Today, we take a look at handy plugins you can use to display product options (variations) in a user-friendly way. I’ve used these on many websites and they’re pretty reliable. As usual, it’s just the click of a button!
1. YITH WooCommerce Color and Label Variations Plugin (FREE & PREMIUM)
YITH plugin comes in a free version (available in the WP Repository) and a premium version.
While the free version allows you to create color type, label type and image type attributes, the premium version gives you additional features. These are the best ones in my opinion:
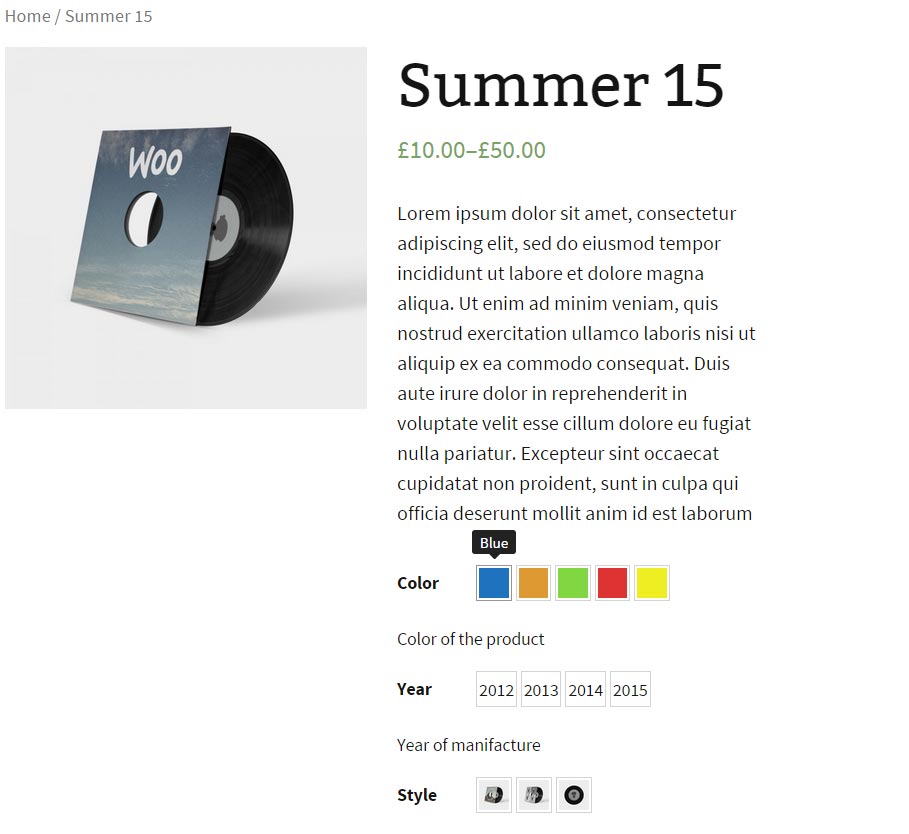
- You can display a description of each attribute in the single product page
- You can show a tooltip for each attribute
- You can customize color and entrance animation of the tooltip
- You can change the product image dynamically when hovering the mouse over the attribute
- You can show all the attributes in the “Additional Information” tab
Here are a few screenshots (click on any image to open lightbox):
2. WooCommerce Attribute Swatches Plugin (PREMIUM)
IconicWP has a nice plugin that replaces the variation dropdowns with image, color and text swatches. I know James Kemp (IconicWP developer) well, and you can be assured you’d invest in a properly coded, lightweight plugin that generates a smooth, beautiful display.

It also goes to edit the WooCommerce product filters, applying the same design you’ve decided to add to your variable product swatches.

On top of that, it adds nice swatches on the shop/category page as well, so that customers are already able to switch their choice from there.

3. YaySwatches – Variation Swatches for WooCommerce Plugin (FREE & PREMIUM)

If you have a WooCommerce shop, as a merchant, you should definitely use YaySwatches to impress your customers and regular site visitors. It comes with a simplified interface that is super easy to set up even if you’re not a techie.
This WooCommerce variation swatches plugin will import all existing WooCommerce attributes and their terms/values into a centralized dashboard where you can add variation colors, dual colors, and image swatches.
Setup steps are easy to follow:
- Choose a display type for each attribute: Color or custom image swatch, automated variation image swatch, button, radio button, and more.

- Customize the color profile for your variation selector such as button text color, button background color, swatch border, hover effect and the like.

- If you’re using the YaySwatches Pro version, you will have extra customizations including shop/category swatches display, out-of-stock variation visibility, Ajax support, and more to come.

Not only that, this plugin offers support for custom product attributes. And when you want to set up a specific product with a different set of swatch images, YaySwatches also got it covered.
Backed by a 30-day refund policy and VIP live chat support, it is worth trying and you are free to explore all the premium features completely risk-free.
4. Variation Swatches for WooCommerce Plugin (FREE)
This free plugin is downloadable from the WordPress repository and has more than 80,000 active installations. However it hasn’t been updated since June 2020 and support seems unresponsive. To me, that’s a big red flag.

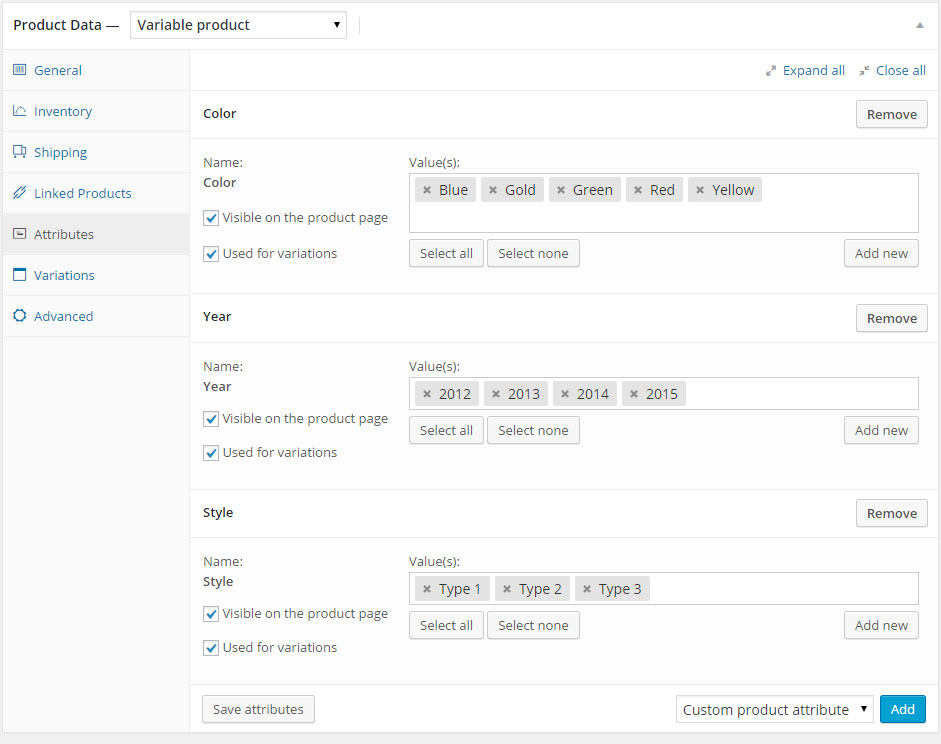
a) Edit Existing Attributes e.g. “Color”
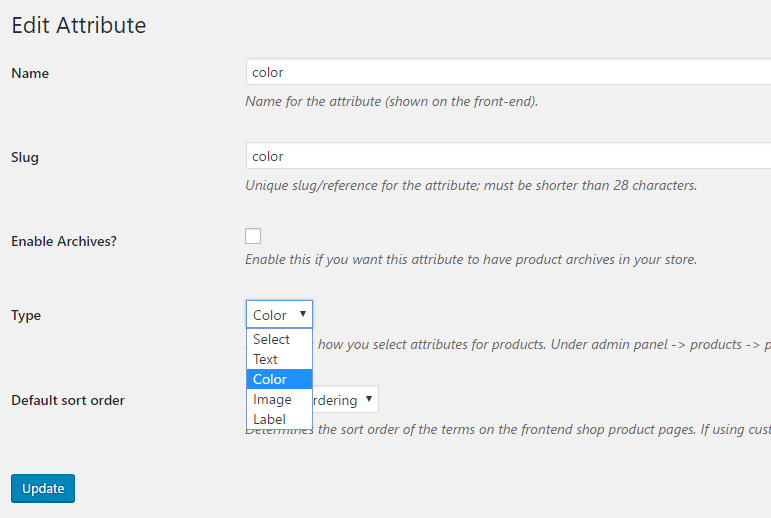
Once the plugin is installed, go to WordPress Dashboard > Products > Attributes and open one of the existing attributes, for example “Color” if you have it already.
The attribute edit page will now have a new select field called “Type”. You can now pick “Color” from the drop-down to indicate you want this attribute to show as a color-picker.
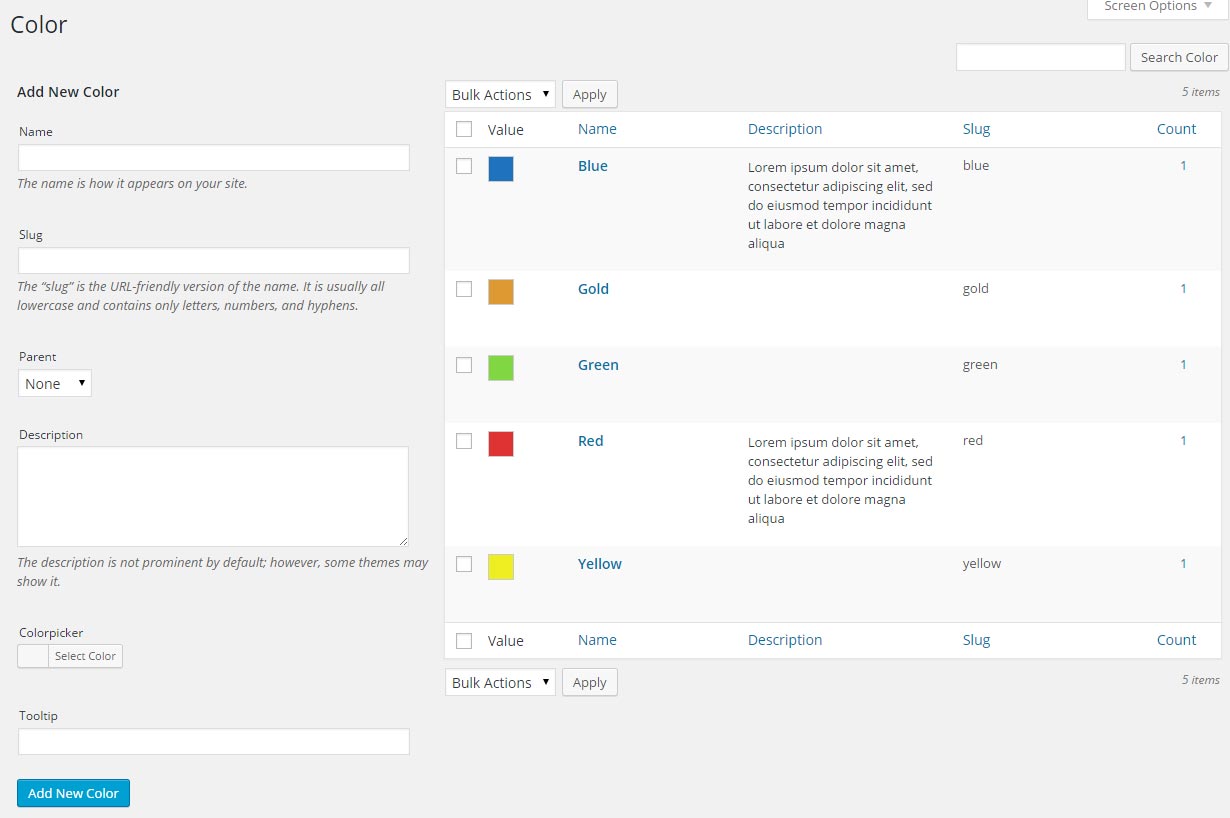
b) Edit Existing Attribute Terms
Now that the attribute has been assigned to a variation swatch (color), it’s time to assign the right color to each attribute term.
If you have red, blue and yellow, you will open each term and pick a color for each one (#ff0000, #0000ff and #ffff00 respectively).

c) Check Out the Single Product Page
That’s it really! Once you save the colors, the single product page will automatically show colors as swatches.